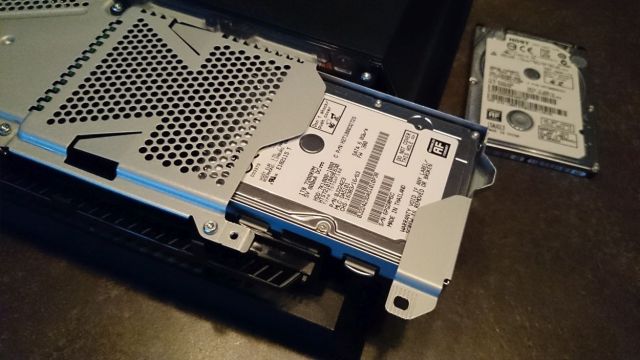
Do you have an old laptop hanging around that you are planning on selling or giving away? Stop and think. How much personal information is on your laptop? It might be time to securely format your laptop’s hard drive before you put it into the hands of someone else.
Other times, you might want to do a basic format, for example, if you are reinstalling an operating system. There are a few reasons why you’d want to reinstall an OS. Maybe you are in need of laptop repair and reinstallation is part of the troubleshooting process. Or maybe it’s just time for a fresh start.
Either way, we’re going to show you how to format your hard drive on a Windows or Mac, through reinstallation of an OS, or more securely.
Format Windows By Reinstalling the OS
Locate Your Windows Product Key for Activation
Your going to need your Windows product key so you can activate your copy of Windows after the reinstallation.
Most of the time, you’ll see the product key located at the bottom of your laptop, or it may be with your laptop’s documentation.
You’ll know it’s the product key because it is 25 characters long.
If you can not find the key, download the free program ProduKey. It will display your Windows product key when you run it.
Download Your Drivers
To simplify the process, download the drivers for your laptop. Drivers control your laptop’s hardware parts. If you have all of these downloaded and ready to install, the process will be much more seamless.
Obtain your laptop’s drivers from the manufacturer’s site. Just enter the model number of your laptop into the search field and download everything in the drivers section.
To find your laptop’s model number, look at the sticker located at the bottom of your laptop.
Burn the downloaded driver files to a blank disk or copy them to a USB drive.
Backup your Data
You’re going to want to keep all of your important data, and most laptops only have one hard drive. Formatting this hard drive will delete all of your data off of it.
Backup all of the pictures, music, documents and other files you might want to hang on to.
You can burn your important information to a blank DVD, upload it to a cloud storage service or copy it to a USB flash drive or external hard drive.
Create a Windows Installation Disc
You’re going to have to boot from a Windows installation disc. Windows can’t format the drive it is installed on from inside Windows.
- Windows 7 – Download the ISO file from Microsoft. After you have downloaded the ISO, install the Windows USB/DVD download tool, which will walk you through the process of creating a Windows 7 installation DVD or USB drive.
- Windows 8 and 10 – Download the Windows Media Creation tool Run the tool and type in your product key to create a Windows installation DVD or USB drive.
Begin Formatting
Boot your computer from the installation USB or disc.
- Windows 7 and older – Press the BIOS, BOOT, or SETUP key that is displayed, commonly F2, F11, F12, and Del. Set your installation drive as the first boot device.
- Windows 8 and newer – Click the power button in the start screen. Hold the up arrow and click restart. This will restart your computer and load the “advanced startup menu.” Choose “troubleshoot” then “advanced options.” Choose “UEFI Firmware Settings” and open the BOOT menu. Set your installation drive as the first boot device.
Begin the Reinstall Setup Process
- Click on “Install now” button and choose your input method and language.
- Select “Custom (advanced)” to open the hard drive tool which will show all of the partitions on your laptop’s hard drive.
- Select the partition where Windows is installed.
- Select “Drive options” and choose “Format.” This will erase all of the data on your drive.
Begin the Installation
- Select your formatted drive and choose “Next” to begin the Windows installation process.
- Follow the prompts. Thee include setting your Update preferences, creating a user account and choosing your network settings. You’ll also need to enter your Windows product key.
Install Your Drivers
Install the drivers from your USB drive or your CD – these might be for graphics, sound, touchpad, card reader, and more.
Securely Format a Windows Laptop
When should you perform a secure format? If you are throwing away your laptop, selling it, or giving it away, you’ll want to prevent your information from falling into the wrong hands. A basic format won’t fully delete all of the information on your drive. The data is simply overwritten and can be recovered by someone.
Here’s how to do a secure format:
- Download DBAN. DBAN is free and will securely format your drive You’ll need a blank DVD to burn it to.
- Burn DBAN to a blank disc.
- Boot from the DBAN disc.
- Press Right key, and enter on the DBAN menu. This will launch the program.
- Select the drive you want to format. Remember that after you select a partition or drive, your information will be completely irretrievable.
- Press F10 to begin wiping your drive. You can use the default settings for a secure wipe which should allow you to get rid of your laptop without having to worry. This will take several hours to finish.
- If you are extremely worried about security, press R to open the Rounds menu and increase the number of rounds. Although this will get you a more secure wipe, it will take longer.
Now that you have formatted your laptop’s hard drive, you’re ready for a fresh start with a new operating system, or, you’re ready to sell your laptop or give it away with peace of mind.